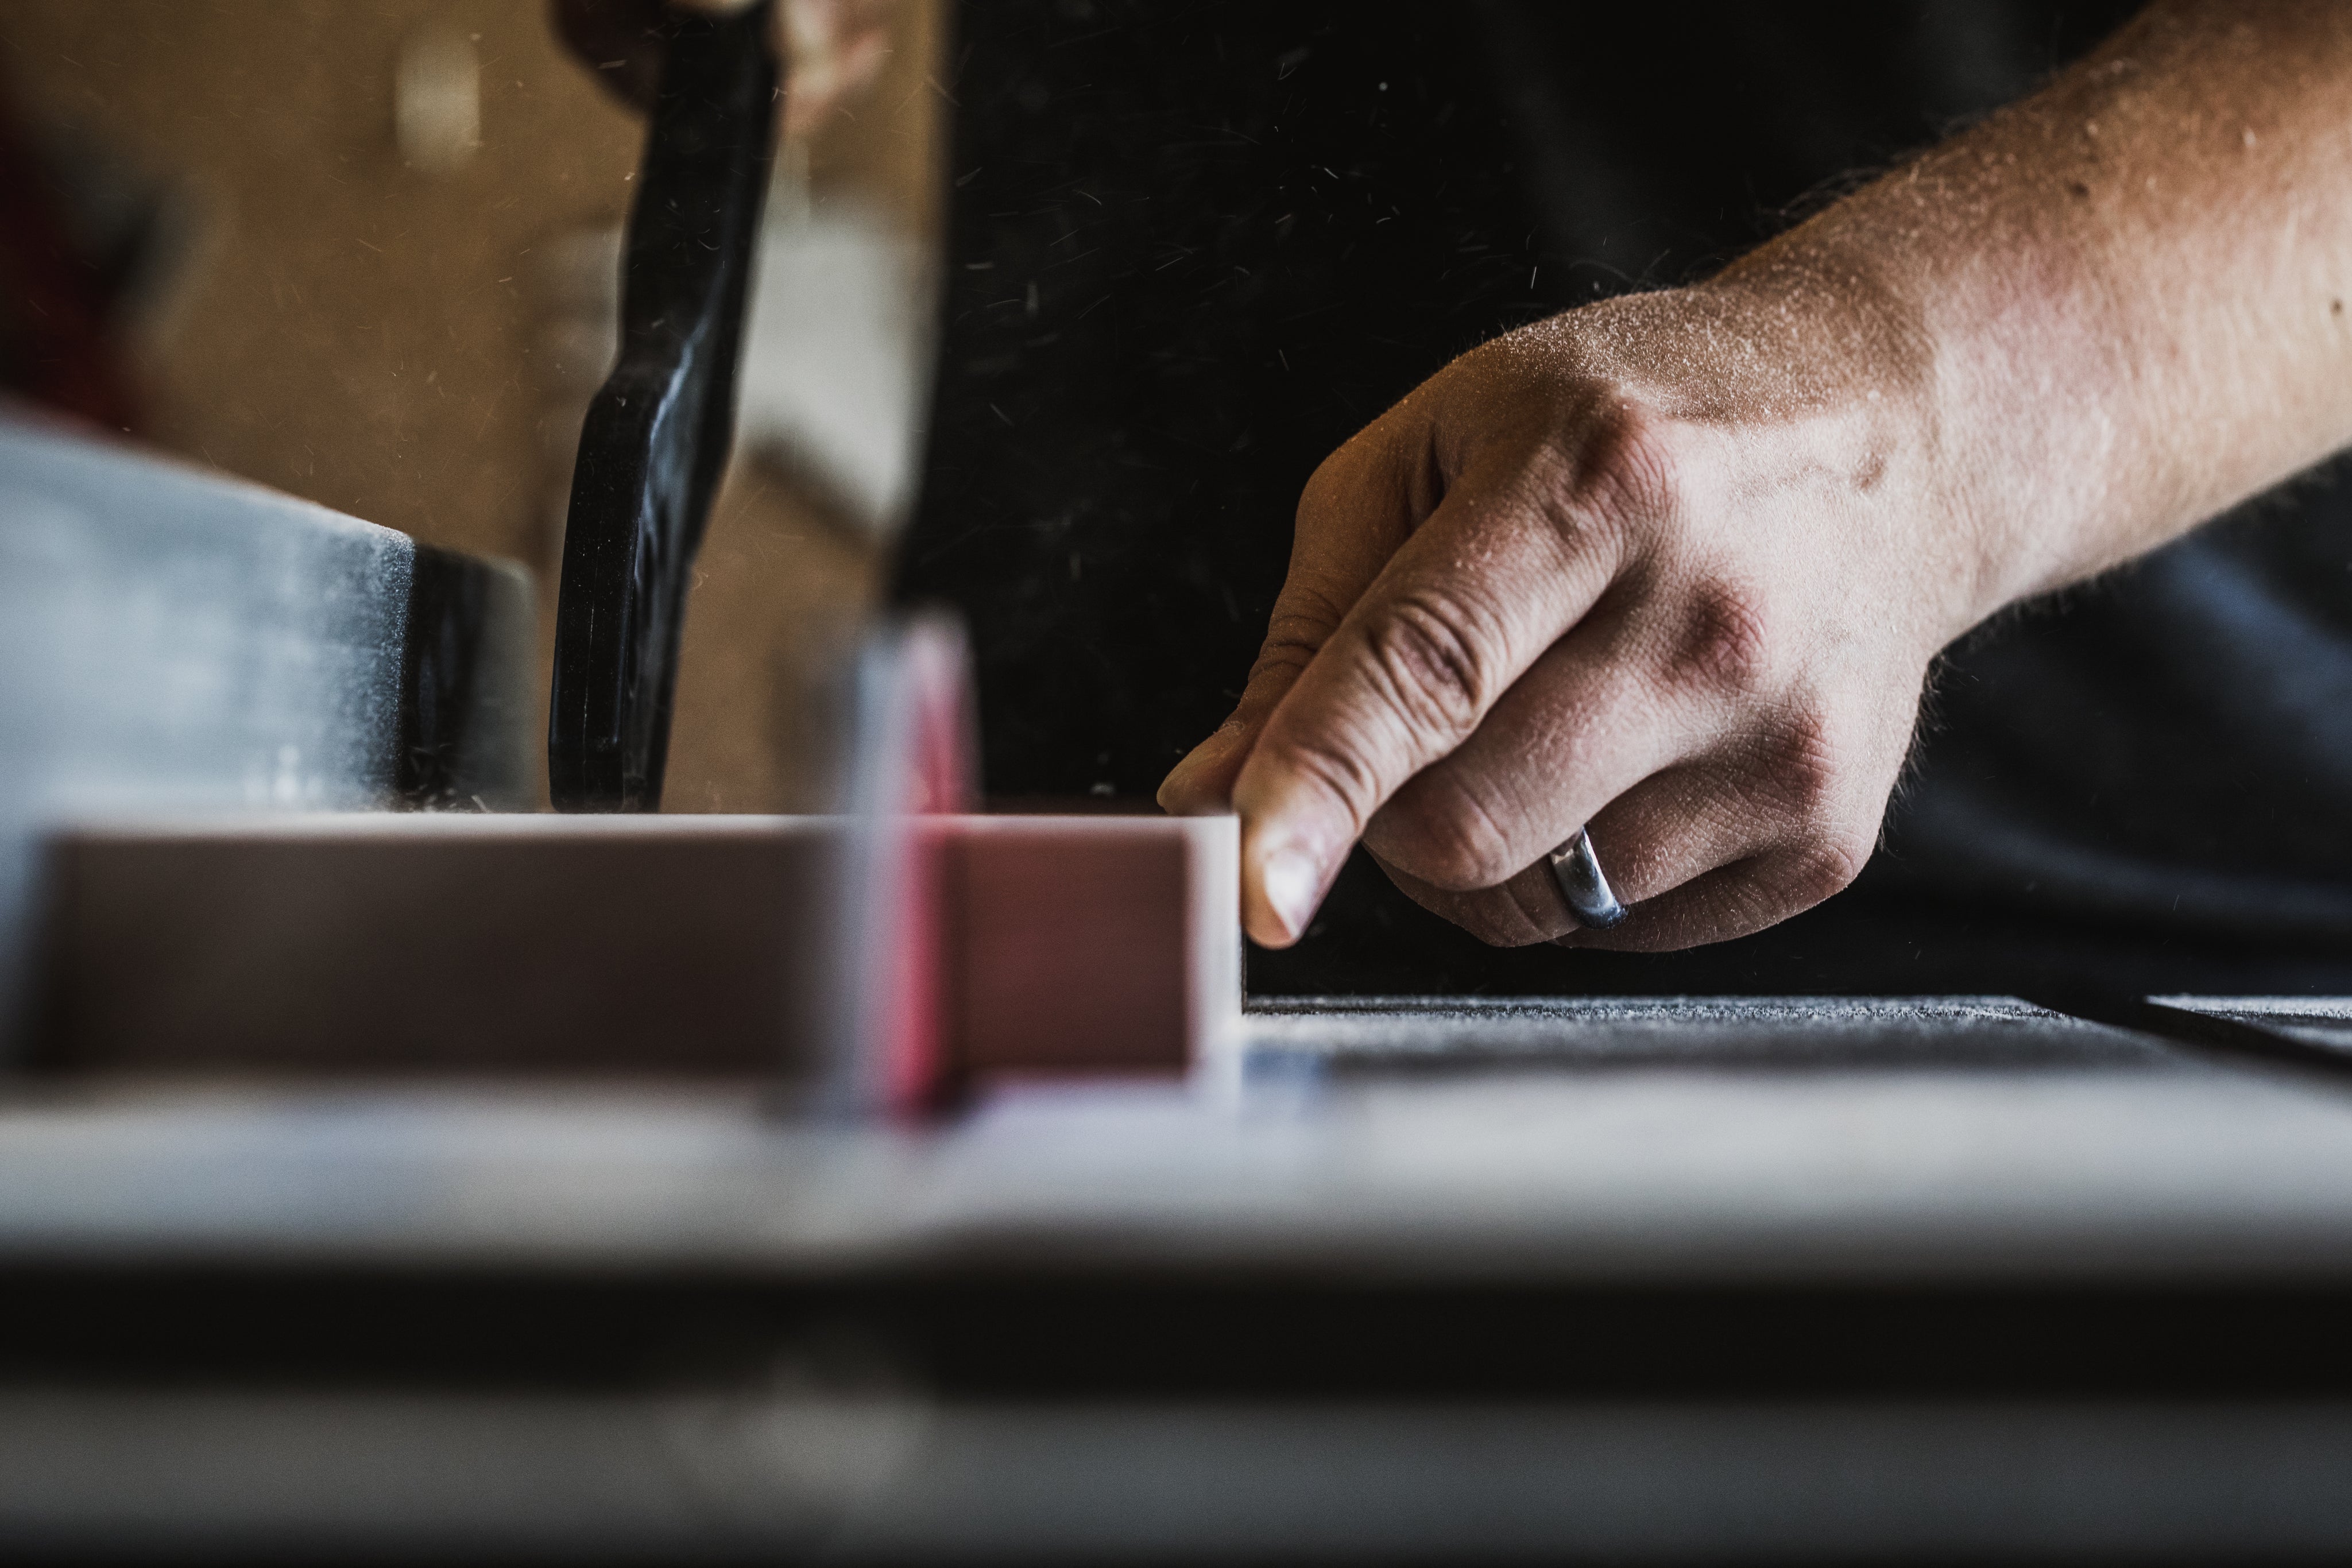
As a woodworker who lives in small-town USA, I rarely get to pick and choose the wood I get to build with and am usually stuck with what I have on hand, or what the local sawmills have an excess of. I have a few small sawmills near me, but the closest “wood store” is over 50 miles away, and their prices are often a bit out of my reach for the high-quality exotic species. Due to these issues, I tend to build a lot with domestic hardwoods that I can easily get my hands on, such as ambrosia maple, red and white oak, poplar, hickory, and sometimes pecan.
Since I buy most of my lumber from local sawmills, it's always rough-sawn, and most of the time it’s in the form of slabs with the live edge and bark still attached to each side. Most of the sawmills around me supply lumber to flooring manufacturers and at least one sends a lot of their lumber out of state to various furniture manufacturers. This means that I basically get to pick my stock from the “seconds” that these mills can not sell to their commercial clients. This also means that I often have to deal with insect damage in much of the wood I use.
Take ambrosia maple for example, by nature this wood features numerous little holes created by the ambrosia beetle’s larvae. The holes are created when the ambrosia beetle, which feeds on the ambrosia fungi, burrows into a ball of sap that’s leaked out of a damaged part of the tree, such as broken limbs from storm damage. Tiny particles of the fungi are transferred to the tree via the sap that the beetle has bored into, allowing the fungus to spread throughout the tree. The Beetle then lays its eggs, and its larvae continue to eat the fungus-infected wood until they mature into adult beetles and fly off to mate and find another tree to lay their eggs into.

As you can see in the image above, ambrosia maple is quite beautiful thanks to the figure caused by the streaking and staining of the ambrosia fungus, This makes the wood highly desired by woodturners and woodworkers alike. You can also see the tiny boreholes created by the beetle’s larvae. For most projects, these holes are fine left alone and pose no real issues other than sometimes containing frass that might float out of the hole when the finish is applied. However, for woodturners and woodworkers who make items intended for use around food, these holes are a breeding ground for bacteria.

Take for instance some serving trays that I made recently. As you can imagine, small holes in anything that might touch food products is a major issue as the holes can hold tiny bits of food and food juices that could later go rancid and aid in the growth of harmful bacteria. Traditionally, stock with small holes like these are avoided when making these types of items, or the holes were filled with either wood glue or epoxy and sawdust. The problem with that is that having to wait on wood glue or epoxy to fully cure could take hours, or even days before things are safe enough to apply a finish without outgassing.
For someone trying to run a production shop, or even a small art-market shop like me, time is money, and no one has the time to wait for the glue in these small holes to dry. Thankfully, with high-quality, quick-curing cyano-acrylate (CA) glues becoming increasingly available over the last decade or so, we no longer have to wait days or hours to fill these small holes. In fact, with a quality tinted CA glue, you can fill these small holes and be ready for finishing in just a few seconds if you know a few tricks to help you make the filling process quick and easy.
For the purpose of this article, I am going to assume you are past the cutting stages of the project and are almost ready for final sanding to whatever your finished grit is before applying a finish. Filling these small holes is quite easy, but some initial prep is required to ensure success.

The first step you will want to take is to identify what holes might penetrate all the way through the workpiece. If you fail to do this step, you might end up permanently gluing the piece to your workbench. This step is easy though, and just requires a lot of flipping the piece over from side to side and covering any holes that might go through and through with a small square of blue tape. I have found that its good practice to just cover all of the holes on the bottom of the workpiece with tape as the holes in Ambrosia Maple could be located several inches apart from one side of the workpiece to the other.

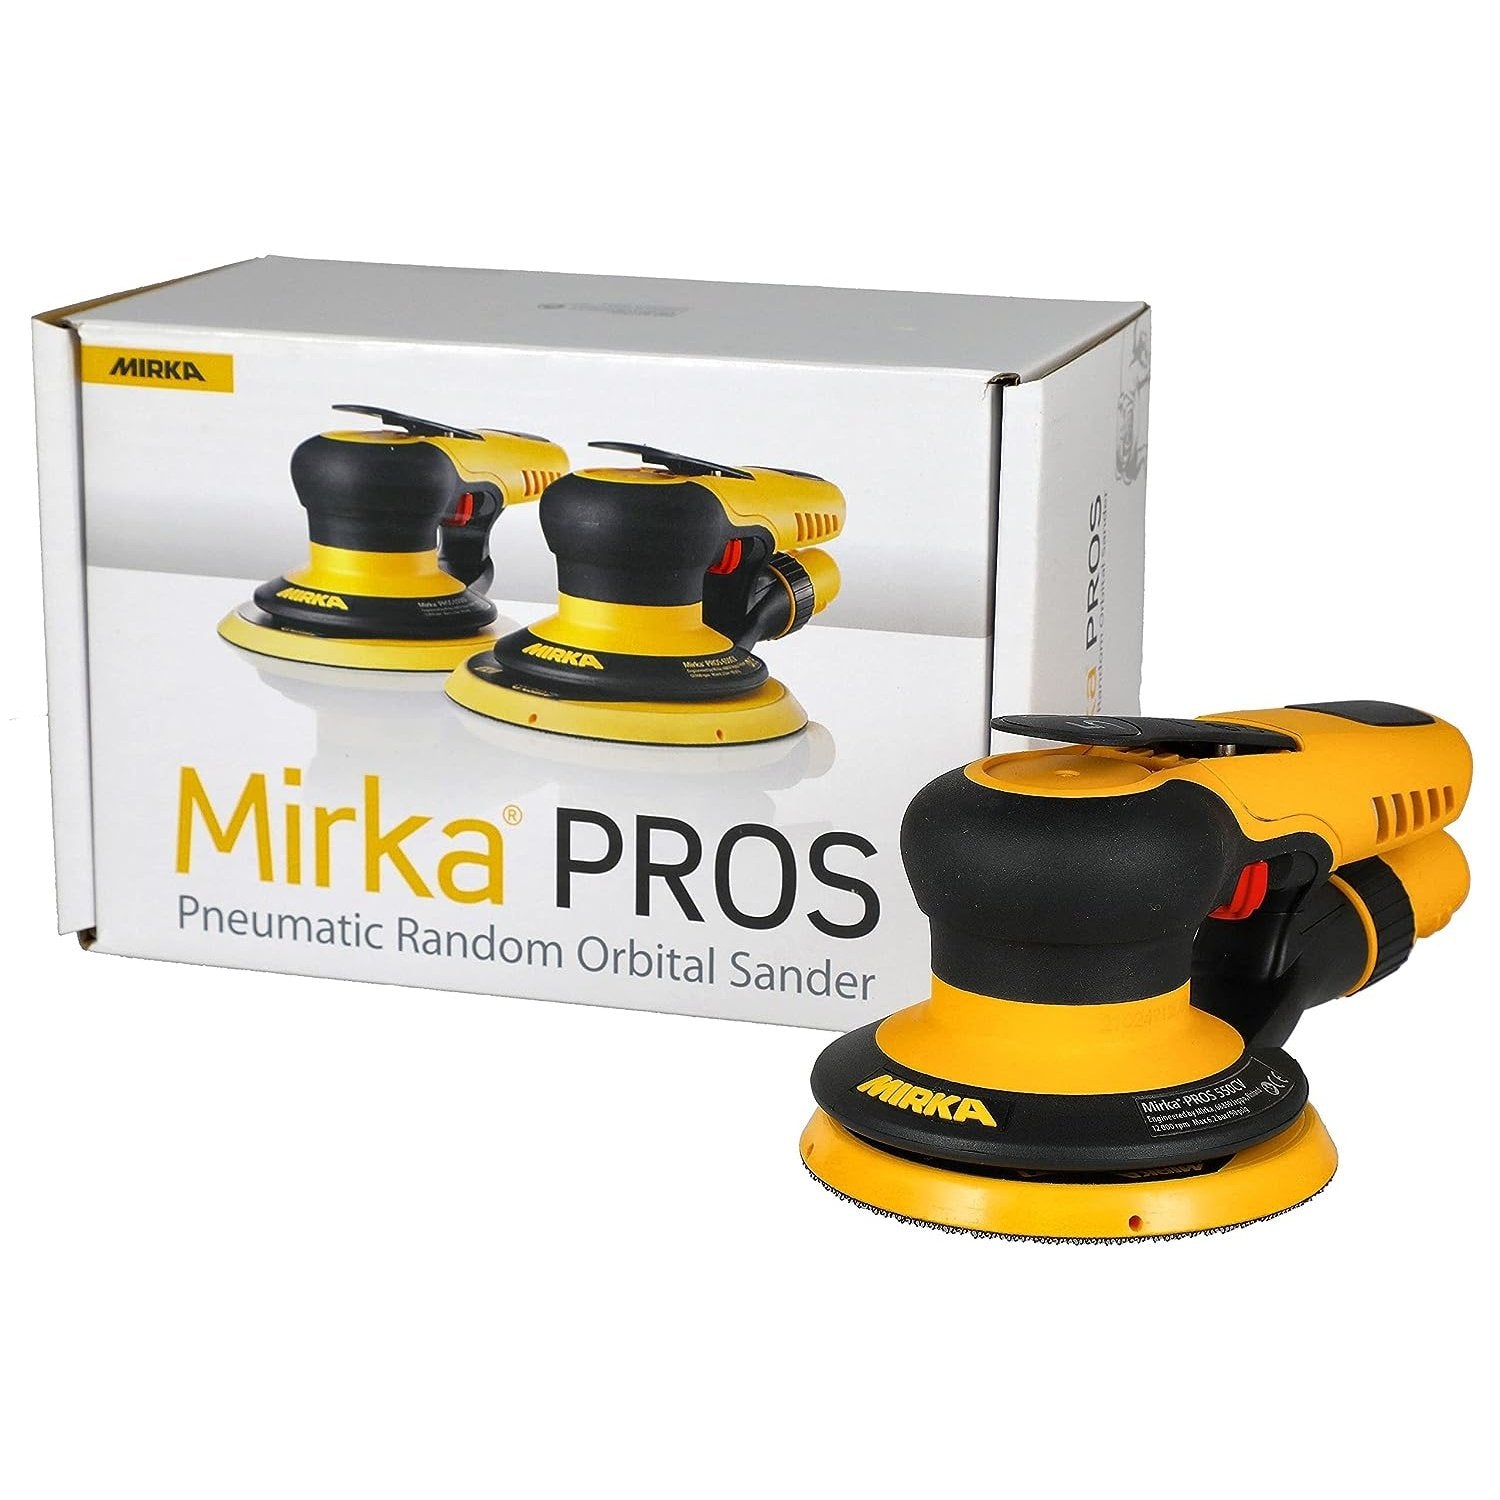
With the holes on the backside covered, I like to fill each of the holes on top with a little sawdust, it does not have to be maple sawdust, and I just use what’s inside my random orbital sander. You don’t need much either, just enough to plug the hole by a couple of millimeters. Just toss a pile of dust on top of the hole and work it down into the hole by rubbing with your finger.

Once all of the holes are plugged with sawdust, I take the slightly rounded tip of a pencil and shove the sawdust deeper into the holes. I do this because I want the holes to stay visible and still look like holes when the piece is finished. By pushing the sawdust down into the holes you are effectively creating a plug inside of the beetle’s little tube. It’s not important how deep you push the sawdust, and whatever you are able to achieve with the tip of the pencil will be fine.

I like to fill insect holes using either black or brown-tinted CA glue as it looks more natural than using clear CA glue. With that said, clear CA glue will work just fine, but Starbond’s CA glue products are such good value that it won’t break the bank to keep a bottle of both on hand if you work with a lot of insect-damaged woods.
I also like to use Starbond’s Micro Tips to give myself better control over where I apply the CA glue, and with a little acetone bath at the end of the day these tips clean up well and can be reused a few more times, making them an even better value when precise application of the glue is needed.

The initial application of the CA glue is all about soaking the sawdust plug we pushed into the insect hole. You do not have to fill the hole all the way right now, and I find it best to just add a single drop (maybe two drops on larger holes) to several holes, then applying a quick spritz of Starbond Activator to quickly cure the CA glue soaked sawdust plugs.

Once you have used the CA glue to plug each hole, you can go back and add a couple more drops to each hole until the CA glue stands slightly proud of the work surface. I tend to do this in groups of 3 holes in ambrosia maple since that is how they are usually grouped, but you can fill several holes or groups of holes at once. Be aware that it is common for the CA glue to “fall” a little when its surface tension is broken when sprayed with activator. This will sometimes cause the little domes of CA glue to flatten out and sometimes cure a little less than proud of the work surface. If this happens, just give the CA glue a few extra seconds to cure, then add another drop of CA glue until you have a solid dome of CA glue that is slightly proud of the work surface.
I have also experienced what I like to call “CA glue bloom” which occurs when I forget to plug a hole with sawdust before filling. This causes lots of CA glue to flow through the insect tube, and as it heats up and cures, it will force itself out of any minute cracks in the wood that might follow the insect tubes. This is rare and usually happens with “fast” formulas of CA glue which produce more exothermic heat during their curing process. If this happens, don’t worry, your finish sanding will take care of it. To prevent this, fill larger or deeper holes in increments instead of all at once.

With the holes filled and cured, I will generally let the workpiece sit for a minute or two while I refresh my coffee. Once a minute or two has passed, I can be confident that the CA glue is fully cured, and I can start my final sanding. When sanding through CA glue I will typically start with 120, or 150-grit sandpaper, and move up to 220. If I need to polish the CA glue, I will sand up to 800-grit using wet/dry paper beginning at the 400-grit stage, and will work my way up through standard micromesh pads, and will finish with Novus acrylic polish for a glass-like finish.

Flip your project over, and remove the blue tape that's covering the other side of the beetle holes. If required, you can back fill these holes with more CA glue at this point, but that may not be necessary for every project.
One thing to note is that CA glue will soak through the wood fibers surrounding the hole’s entrance, as well as any of the wood fibers around the insect tube inside of the wood. Without some pre-planning to seal those areas with a cellulose sanding sealer beforehand, you could experience some streaking with finishes that change the color of the wood such as stains and dark oils. Pre-sealing the wood with shellac or cellulose sanding sealer will go a long way to prevent this, and the CA glue will still stick like normal once the sanding sealer has cured.
I hope this quick tip helps you out when building your next project. Any of Starbond’s medium or thick CA glue formulas will work for filling insect holes, and if brown is not your style, they also make medium and thick formulas in clear and black as well. The black works really well in darker woods like walnut, while clear works well in a nice unblemished maple or birch. Brown works very well in ambrosia maple, carolina cherry, and many other woods that might have slight brown, pink, orange, and red undertones.
If you liked this article, I have a corresponding video on my YouTube channel, and post a lot of CA glue tips and tricks on my Instagram, and IGTV profiles. Thank you for stopping by and taking the time to read this article.
Charles J Gantt is a devoted maker, and lifetime DIY enthusiast whose passion is creating helpful and educational content that allows makers around the world to progress in their hobby. He has been creating DIY and Maker content since 2009, and has written blogs for Starbond since 2019.


